As you may know, I am a bit fan of automation and source control, and the reason for this is that these tools help me provide a stable IT environment for customers and internal use. The confidence that doing an installation or update and that the deployment is executed exactly as I did the last time is something I appreciate. Using automation doesn’t mean there are no mistakes, but I only have to fix it one time instead of remembering or doing a document each time explaining the change. Source control enables me to see what changes have been made to the environments I work with. It serves as a documentation framework and ensures I don’t change production until I commit the code to my production branch.
Well enough talking about the why let us take a look at the how.
In this post, I will go through an Azure DevOps pipeline setup to keep the NSG rules under version control.
First, I want to create the NSG instance and add some simple rules. In this guide, I will be using Bicep for my deployments, but the mindset goes with any infrastructure as code. Microsoft has documented how to create an NSG instance in Bicep here. There is too much included in that code for my configuration, so I have modified it, and it is now the code shown below.
resource nsg 'Microsoft.Network/networkSecurityGroups@2016-09-01' = {
  name: 'DemoNSG'
  location: resourceGroup().location
  properties: {
    securityRules: [
      {
        name: 'Allow-RDP'
        properties: {
          priority: 1000
          sourceAddressPrefix: '*'
          protocol: 'Tcp'
          destinationPortRange: '3389'
          access: 'Allow'
          direction: 'Inbound'
          sourcePortRange: '*'
          destinationAddressPrefix: '*'
        }
      }
      {
        name: 'Block-HTTP'
        properties: {
          priority: 2000
          sourceAddressPrefix: '*'
          protocol: 'Tcp'
          destinationPortRange: '80'
          access: 'Deny'
          direction: 'Inbound'
          sourcePortRange: '*'
          destinationAddressPrefix: '*'
        }
      }
    ]
  }
}
With this simple version of my code, I can create the pipeline in Azure DevOps. I will check in my code, as usual, using Git. If you are unsure how to do this, you can look at my blog series on “Azure DevOps for the Ops consultant.” The picture below shows how I have organized my code.
Now, I can create my build pipeline to validate my bicep files.
First, I will create a build pipeline which I will use to validate my Bicep files and make them available to the release pipeline. Using the build pipeline like this is unnecessary, but I feel most comfortable with this approach. To create the pipeline, I click on “Pipelines” and then “Create Pipeline”.
I select “Azure Repos Git”.
I then select my repository, “NSG-BlogPost”.

I select “Starter pipeline.”
I can remove the lines below since they are not needed in my deployment.

Then, I can click on “Show assistant” to search for the Azure CLI assistant.

I click to select it.
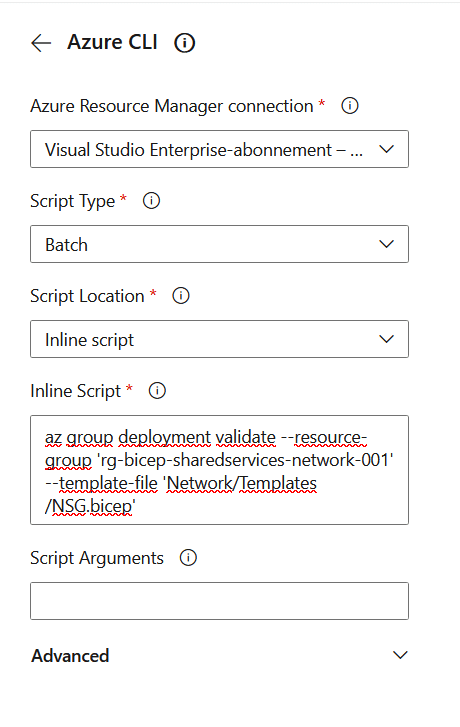
I already used an Azure connection in my DevOps, and if you don’t know how to set that up, you can reach out to me on Twitter or LinkedIn. I can click on “Authorize” to provide access from this pipeline to my Azure Service Connection. I select the script type to be batch and choose “Inline script” as the “Script Location”. With that, I can now enter the Azure CLI command to validate my deployment. I like to name my tasks, so I have added that to my code afterward. The code now looks like the snippet below.
# Starter pipeline
# Start with a minimal pipeline that you can customize to build and deploy your code.
# Add steps that build, run tests, deploy, and more:
# https://aka.ms/yaml

trigger:
- main

pool:
  vmImage: ubuntu-latest

steps:
- task: AzureCLI@2
  displayName: 'Validate NSG template'
  inputs:
    azureSubscription: 'Visual Studio Enterprise-abonnement – MPN()'
    scriptType: 'batch'
    scriptLocation: 'inlineScript'
    inlineScript: az group deployment validate --resource-group rg-bicep-sharedservices-network-001 --template-file 'Network/Templates/NSG.bicep'
I can now save and run my pipeline by clicking on “Save and run”

I will choose to “Commit directly to the main branch” and click on “Save and run”

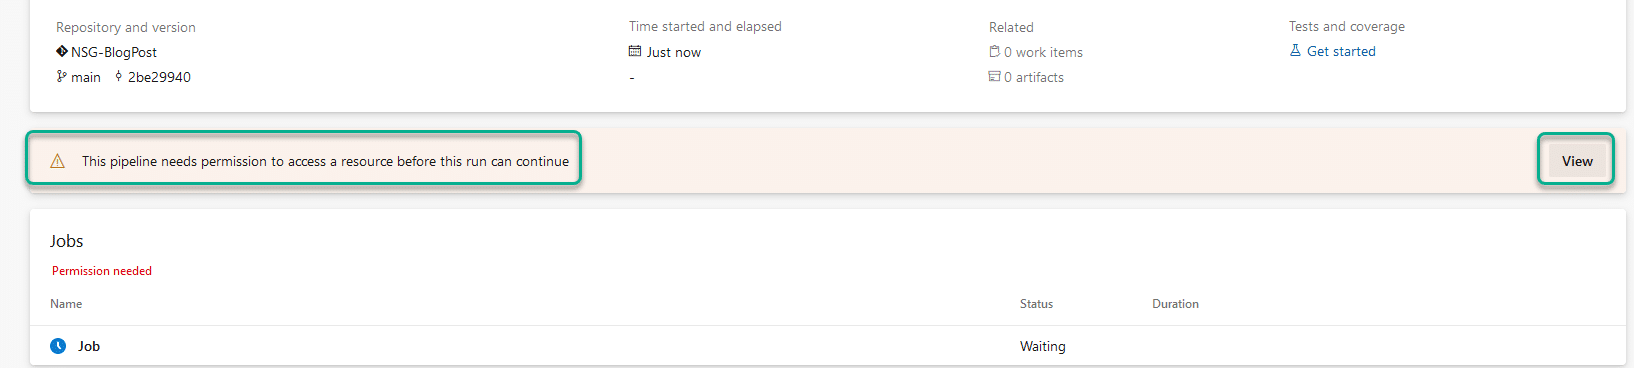
I will be asked to provide permission to run the pipeline, so I will click on “View” and then on “Permit”

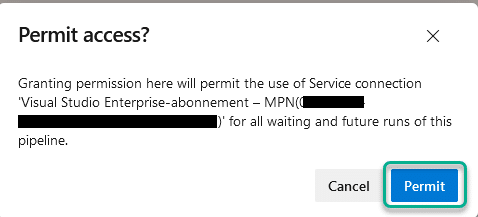
And I need to hit “Permit” one more time to grant permission for the pipeline to use the service connection.
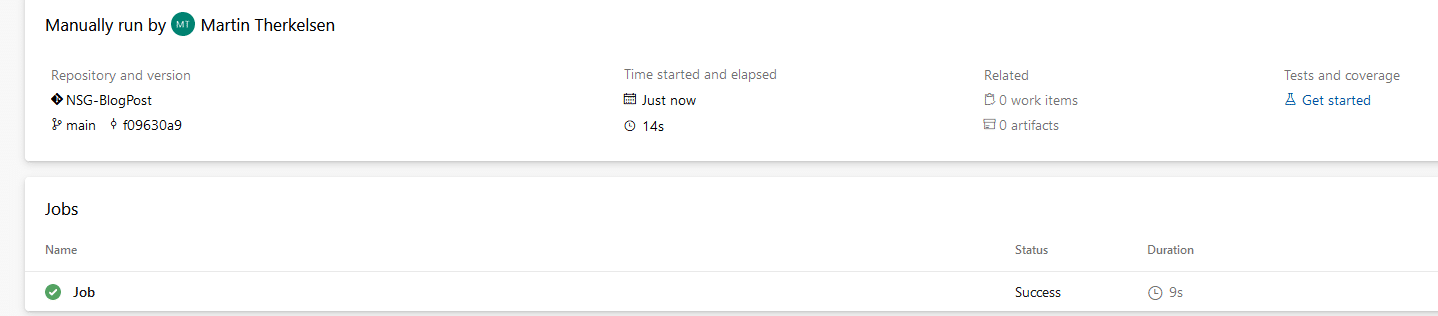
The pipeline is minimal, so the job will be completed quickly, as seen in the picture below.
The last thing I need to do in my build pipeline is publish my files, making them available in the release pipeline. To do this, I need to add a few lines of code to the pipeline, so now the pipeline is shown below.
# Starter pipeline
# Start with a minimal pipeline that you can customize to build and deploy your code.
# Add steps that build, run tests, deploy, and more:
# https://aka.ms/yaml

trigger:
- main

pool:
  vmImage: ubuntu-latest

steps:
- task: AzureCLI@2
  displayName: 'Validate NSG template'
  inputs:
    azureSubscription: 'Visual Studio Enterprise-abonnement – MPN()'
    scriptType: 'bash'
    scriptLocation: 'inlineScript'
    inlineScript: az group deployment validate --resource-group rg-bicep-sharedservices-network-001 --template-file 'Network/Templates/NSG.bicep'

- task: CopyFiles@2
  displayName: 'Copy files'
  inputs:
    TargetFolder: $(Build.ArtifactStagingDirectory)

- task: PublishPipelineArtifact@1
  displayName: 'Publish Pipeline Artifact'
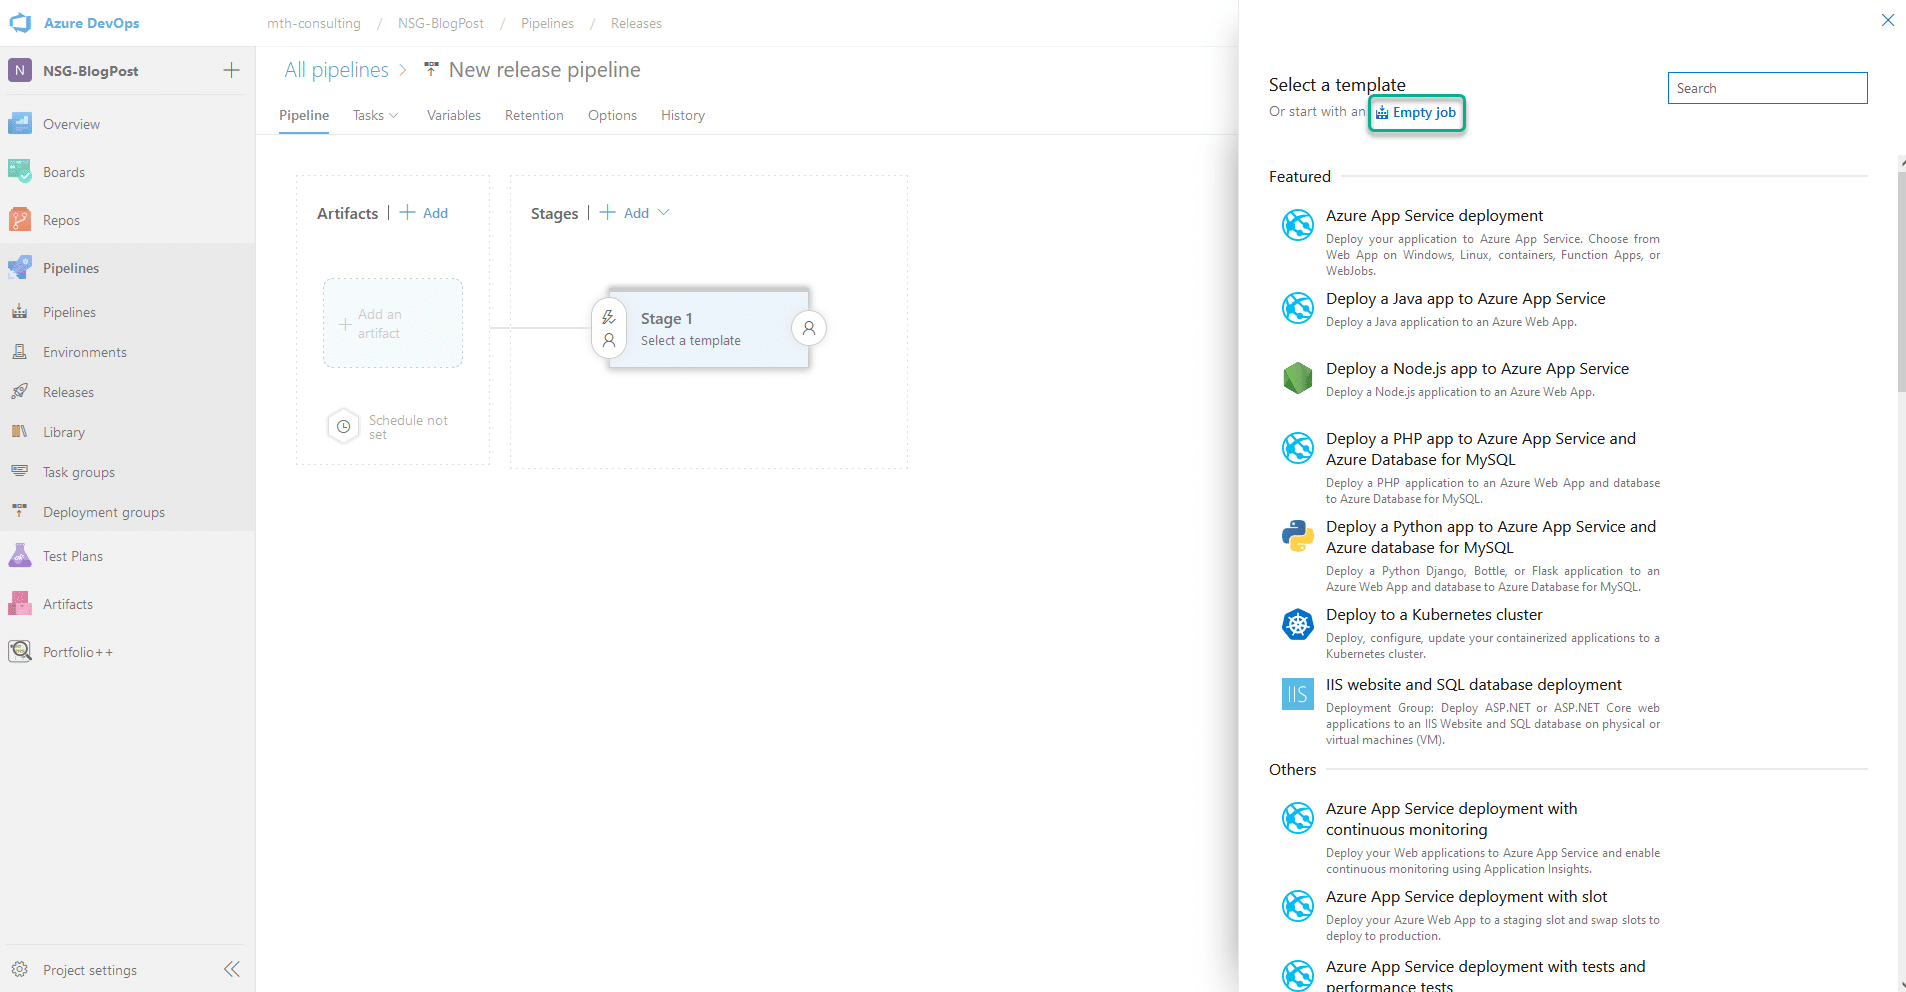
Next, I want to create my release pipeline to deploy my NSG and NSG rules into Azure. To do this, I will click on “Releases” under “Pipelines” and then “New pipeline”.
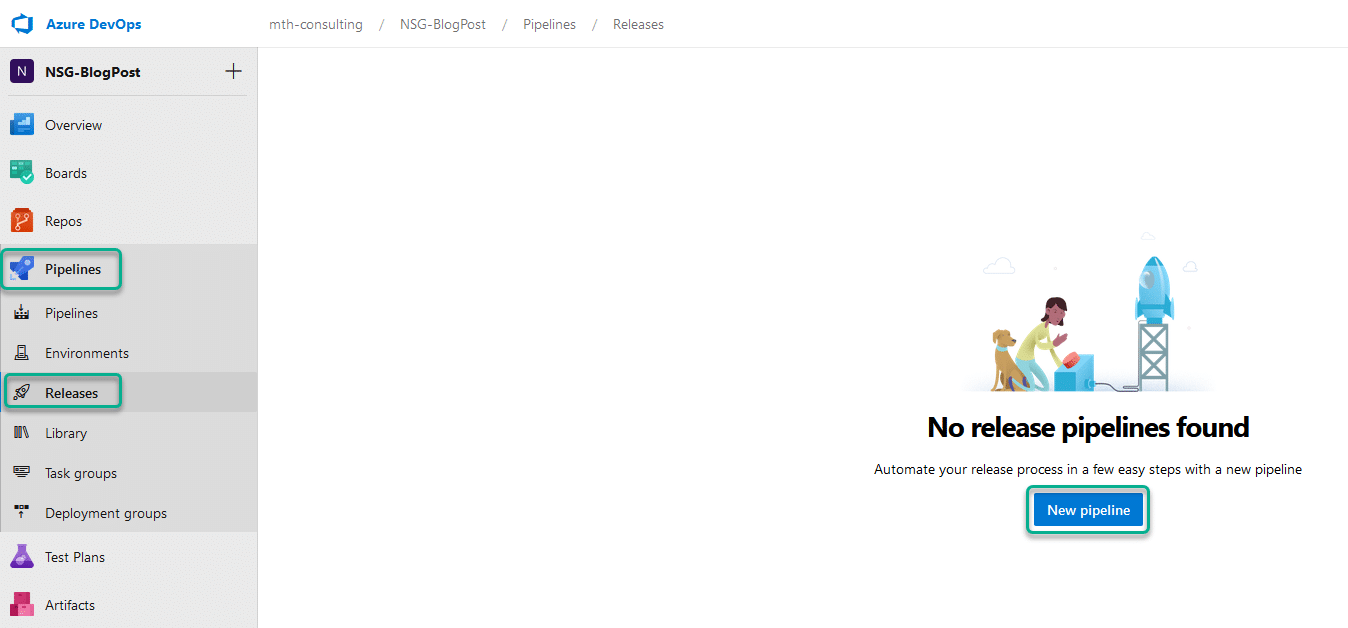
I will select “Empty job”

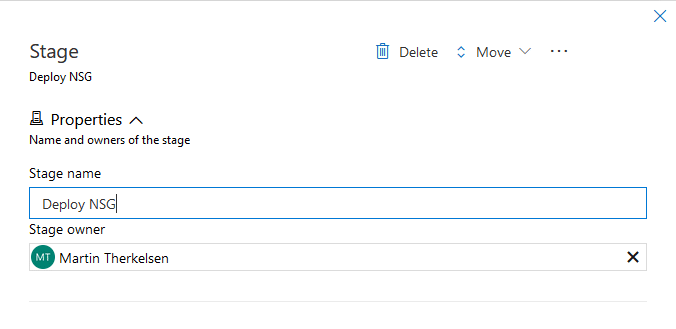
I will name my stage “Deploy NSG”
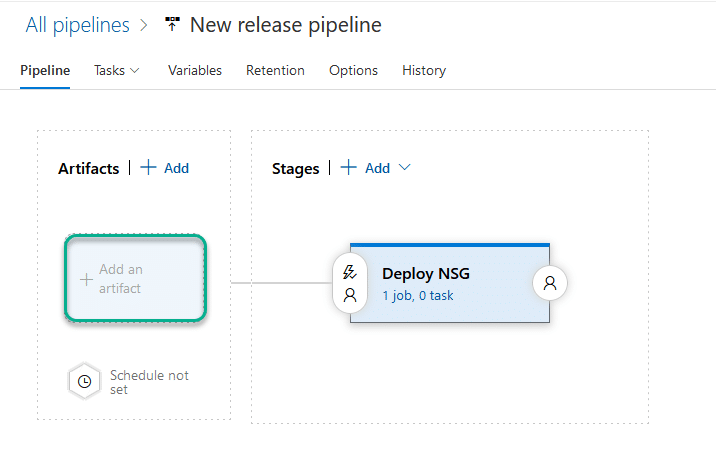
I can now click on “Add an artifact”
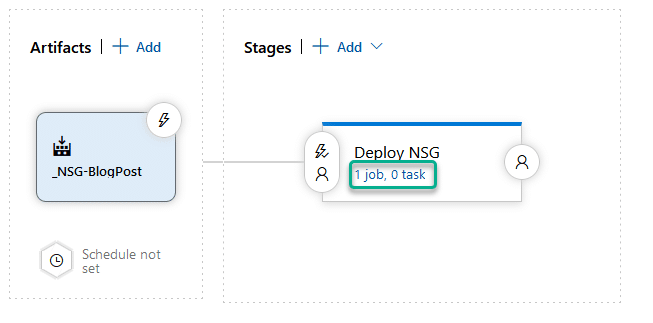
I can choose my project and build pipeline and click on “Add”.
To add my deployment task, I will click on the “1 job, 0 task” link in the middle of the screen.
To add the task, I click on the plus sign beside the “Agent job” and then search for “Azure,” and lastly click on the “Add” button in the “Azure CLI” section.

I will name my job “Deploy NSG template to Azure” and select the correct subscription and select “Batch” as script type and again choose an “Inline script” The inline script has a path. I choose to put it into the inline script. Still, it is possible to choose the working directory if you are only using one directory.
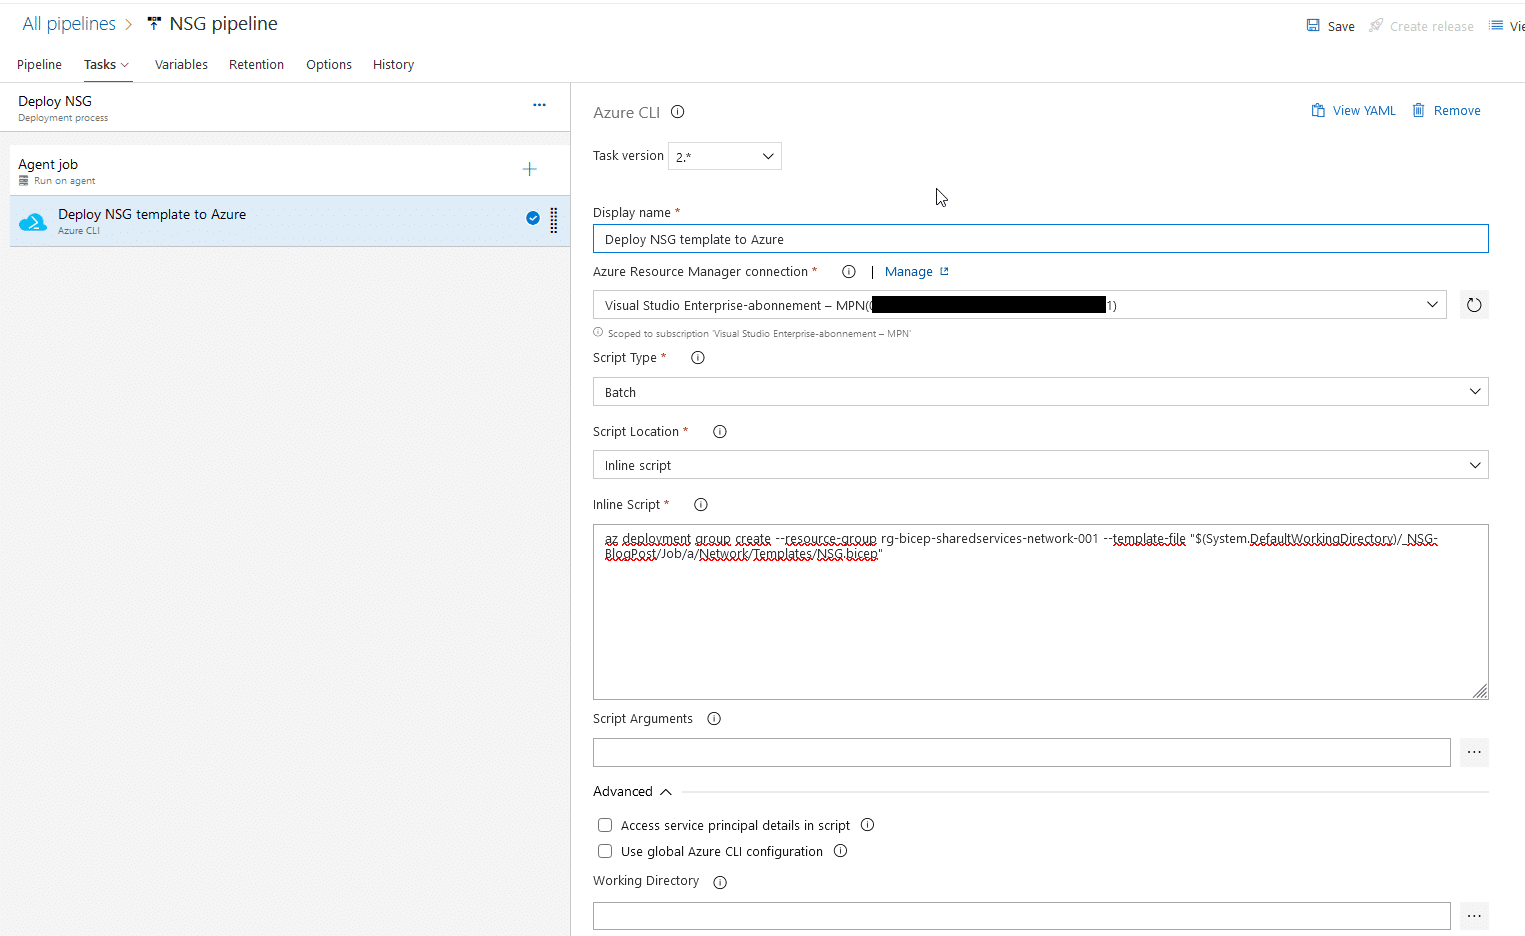
The last thing I want to change is the name of the release pipeline, I have named in “NSG pipeline”

I will click on “Save” and then on “Create release”

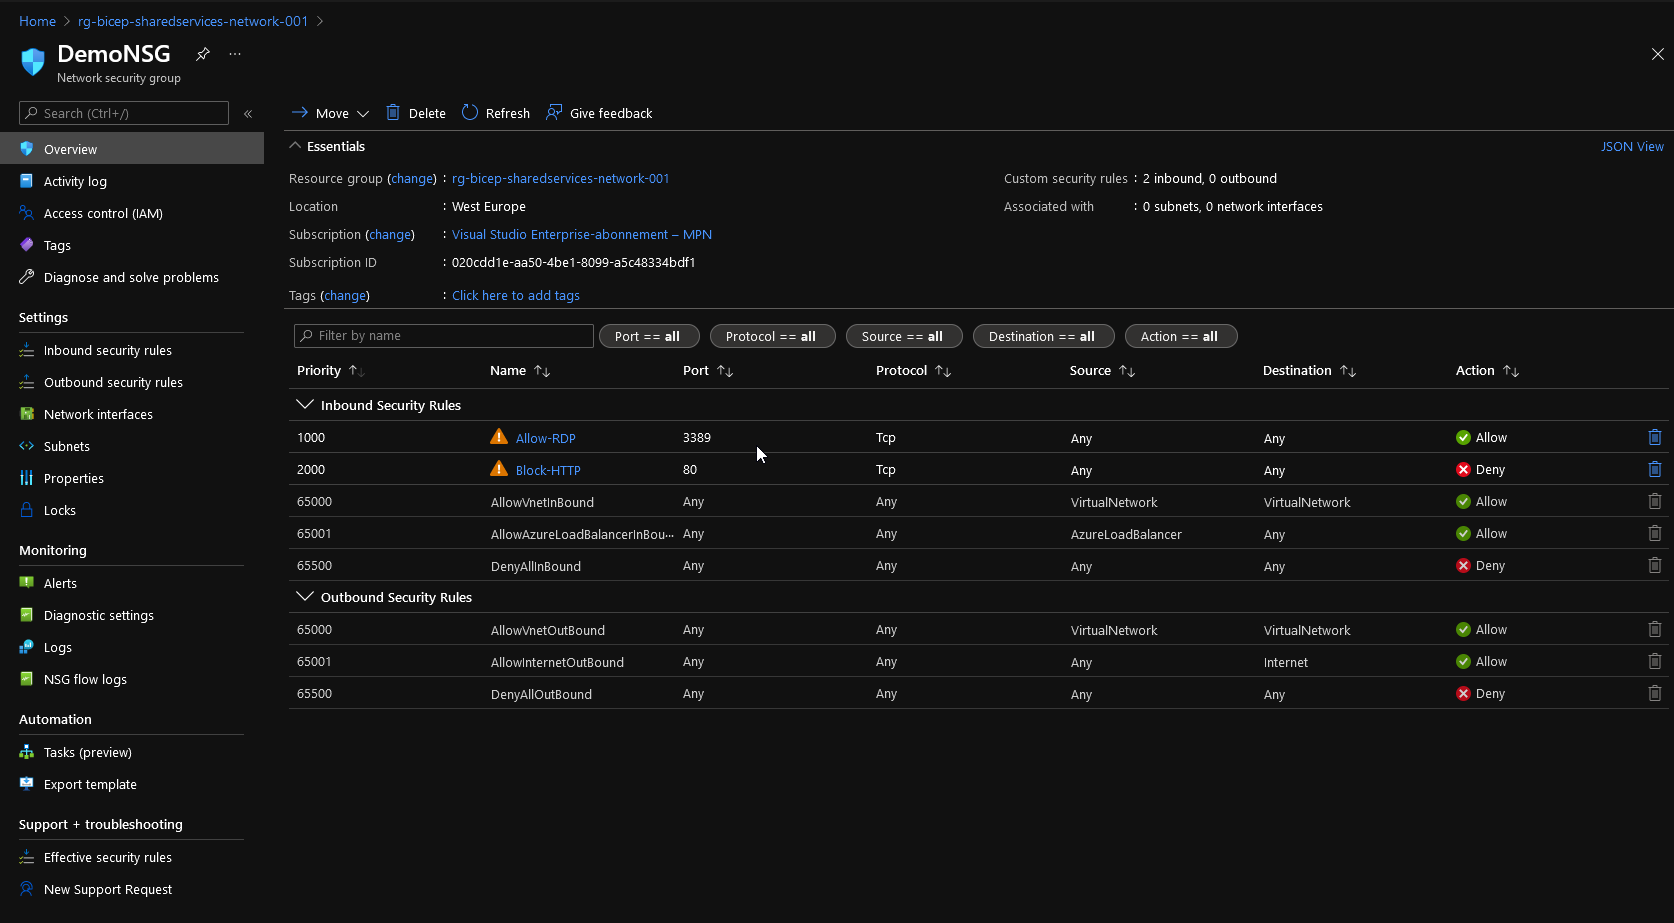
As shown in the picture below, my deployment succeeded.

If I check my Azure subscription, I can now see my NSG with the rules I have in my template.
Now I have the pipeline up and running, and any changes I make to my NSG are done in the template. When I check my code, it will automatically check if the template is valid and then update my Azure deployment afterward.
I do want to cover one last thing before I round up this post. As you may have gathered already, creating both a build pipeline and a release pipeline is actually not needed. You can do just one and have both the validation and deployment done from either type of pipeline. Below is a code example of using the build pipeline to validate and deploy the NSG and rules.
# Starter pipeline
# Start with a minimal pipeline that you can customize to build and deploy your code.
# Add steps that build, run tests, deploy, and more:
# https://aka.ms/yaml

trigger:
- main

pool:
  vmImage: ubuntu-latest

steps:
- task: AzureCLI@2
  displayName: 'Validate NSG template'
  inputs:
    azureSubscription: 'Visual Studio Enterprise-abonnement – MPN()'
    scriptType: 'bash'
    scriptLocation: 'inlineScript'
    inlineScript: az group deployment validate --resource-group rg-bicep-sharedservices-network-001 --template-file 'Network/Templates/NSG.bicep'

- task: AzureCLI@2
  displayName: 'Deploy NSG template'
  inputs:
    azureSubscription: 'Visual Studio Enterprise-abonnement – MPN()'
    scriptType: 'bash'
    scriptLocation: 'inlineScript'
    inlineScript: az deployment group create --resource-group rg-bicep-sharedservices-network-001 --template-file 'Network/Templates/NSG.bicep'

- task: CopyFiles@2
  displayName: 'Copy files'
  inputs:
    TargetFolder: $(Build.ArtifactStagingDirectory)

- task: PublishPipelineArtifact@1
  displayName: 'Publish Pipeline Artifact'
If you are used to deploying resources with the ARM task in Azure DevOps, you won’t be able to use the Bicep templates, at least not for the time being. The deployment will fail for some reason, but I really hope Microsoft will fix this later in their end of the tools.
I hope this article was useful, and if you have any questions, you are more than welcome to reach out to me here or on Twitter.
Comments