Intro
In this blog post, I want to show you how easy it is to create a custom image in Azure and use it inside your Windows 365 machines. The process is simple, and hopefully, this guide will help you get started with the basics. And after that, you can start automating all the steps if you want to.
Setup
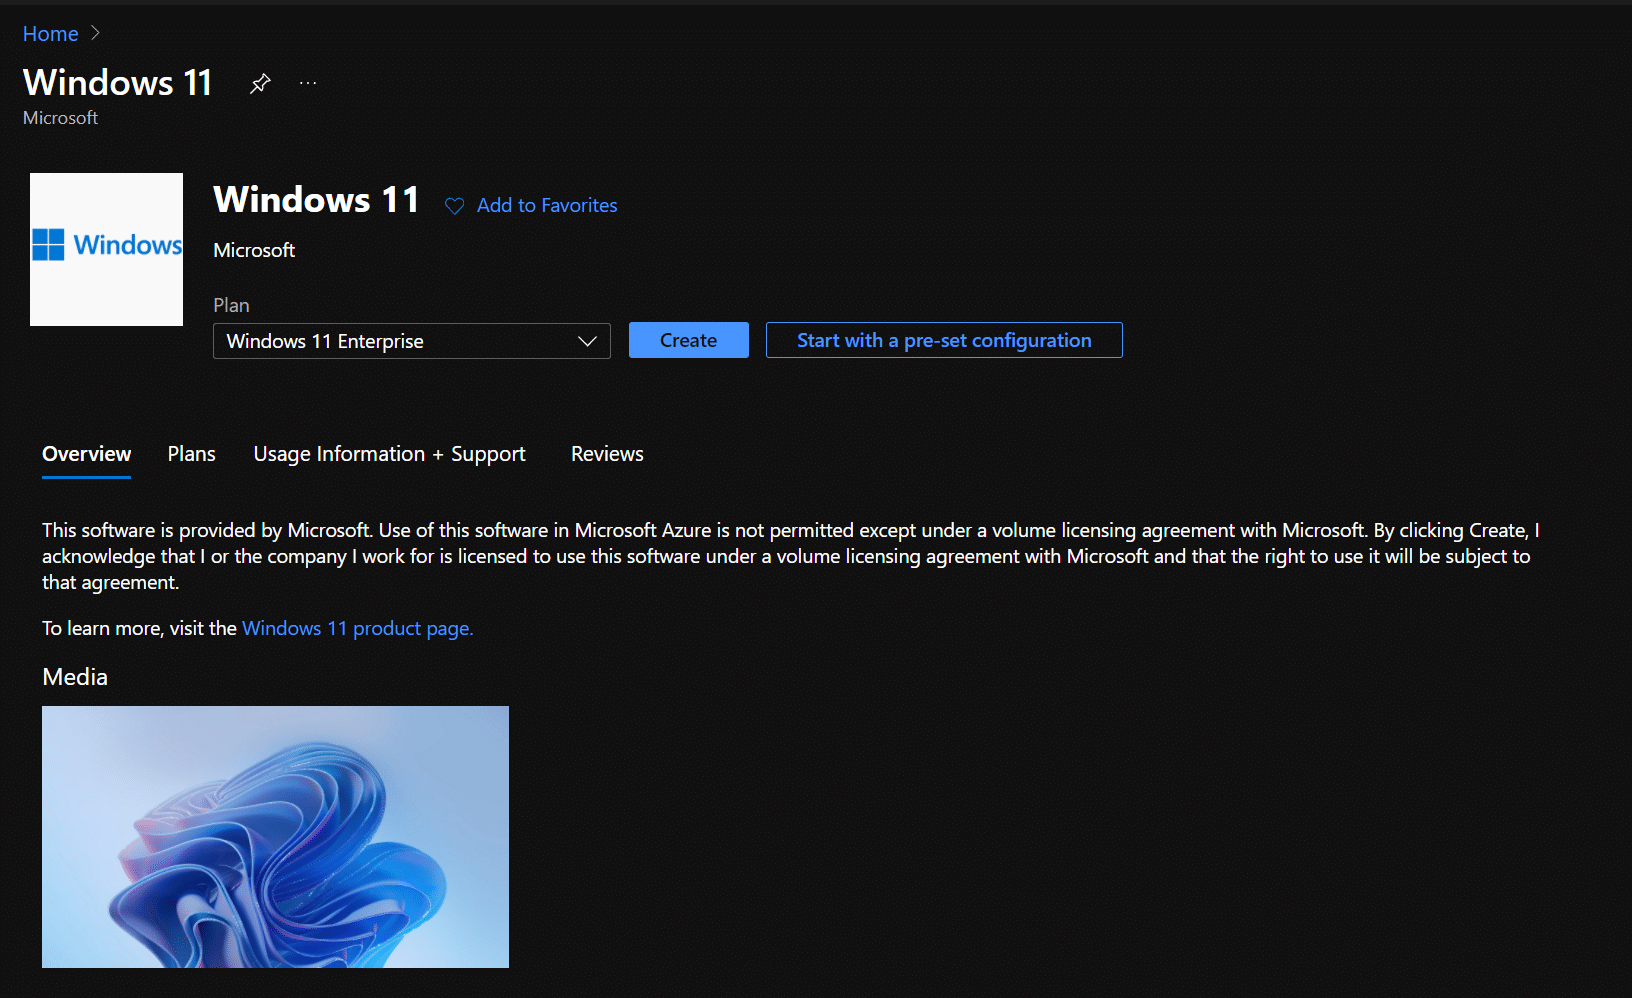
I first need to create a new virtual machine in Azure with the Windows 10/11 operating system. I will generate mine with Windows 11. Remember that generation 2 VM type is needed to deploy the Windows 11 into the Windows 365 platform. Generation 2 is needed due to the TPM and UEFI requirements of Windows 11.
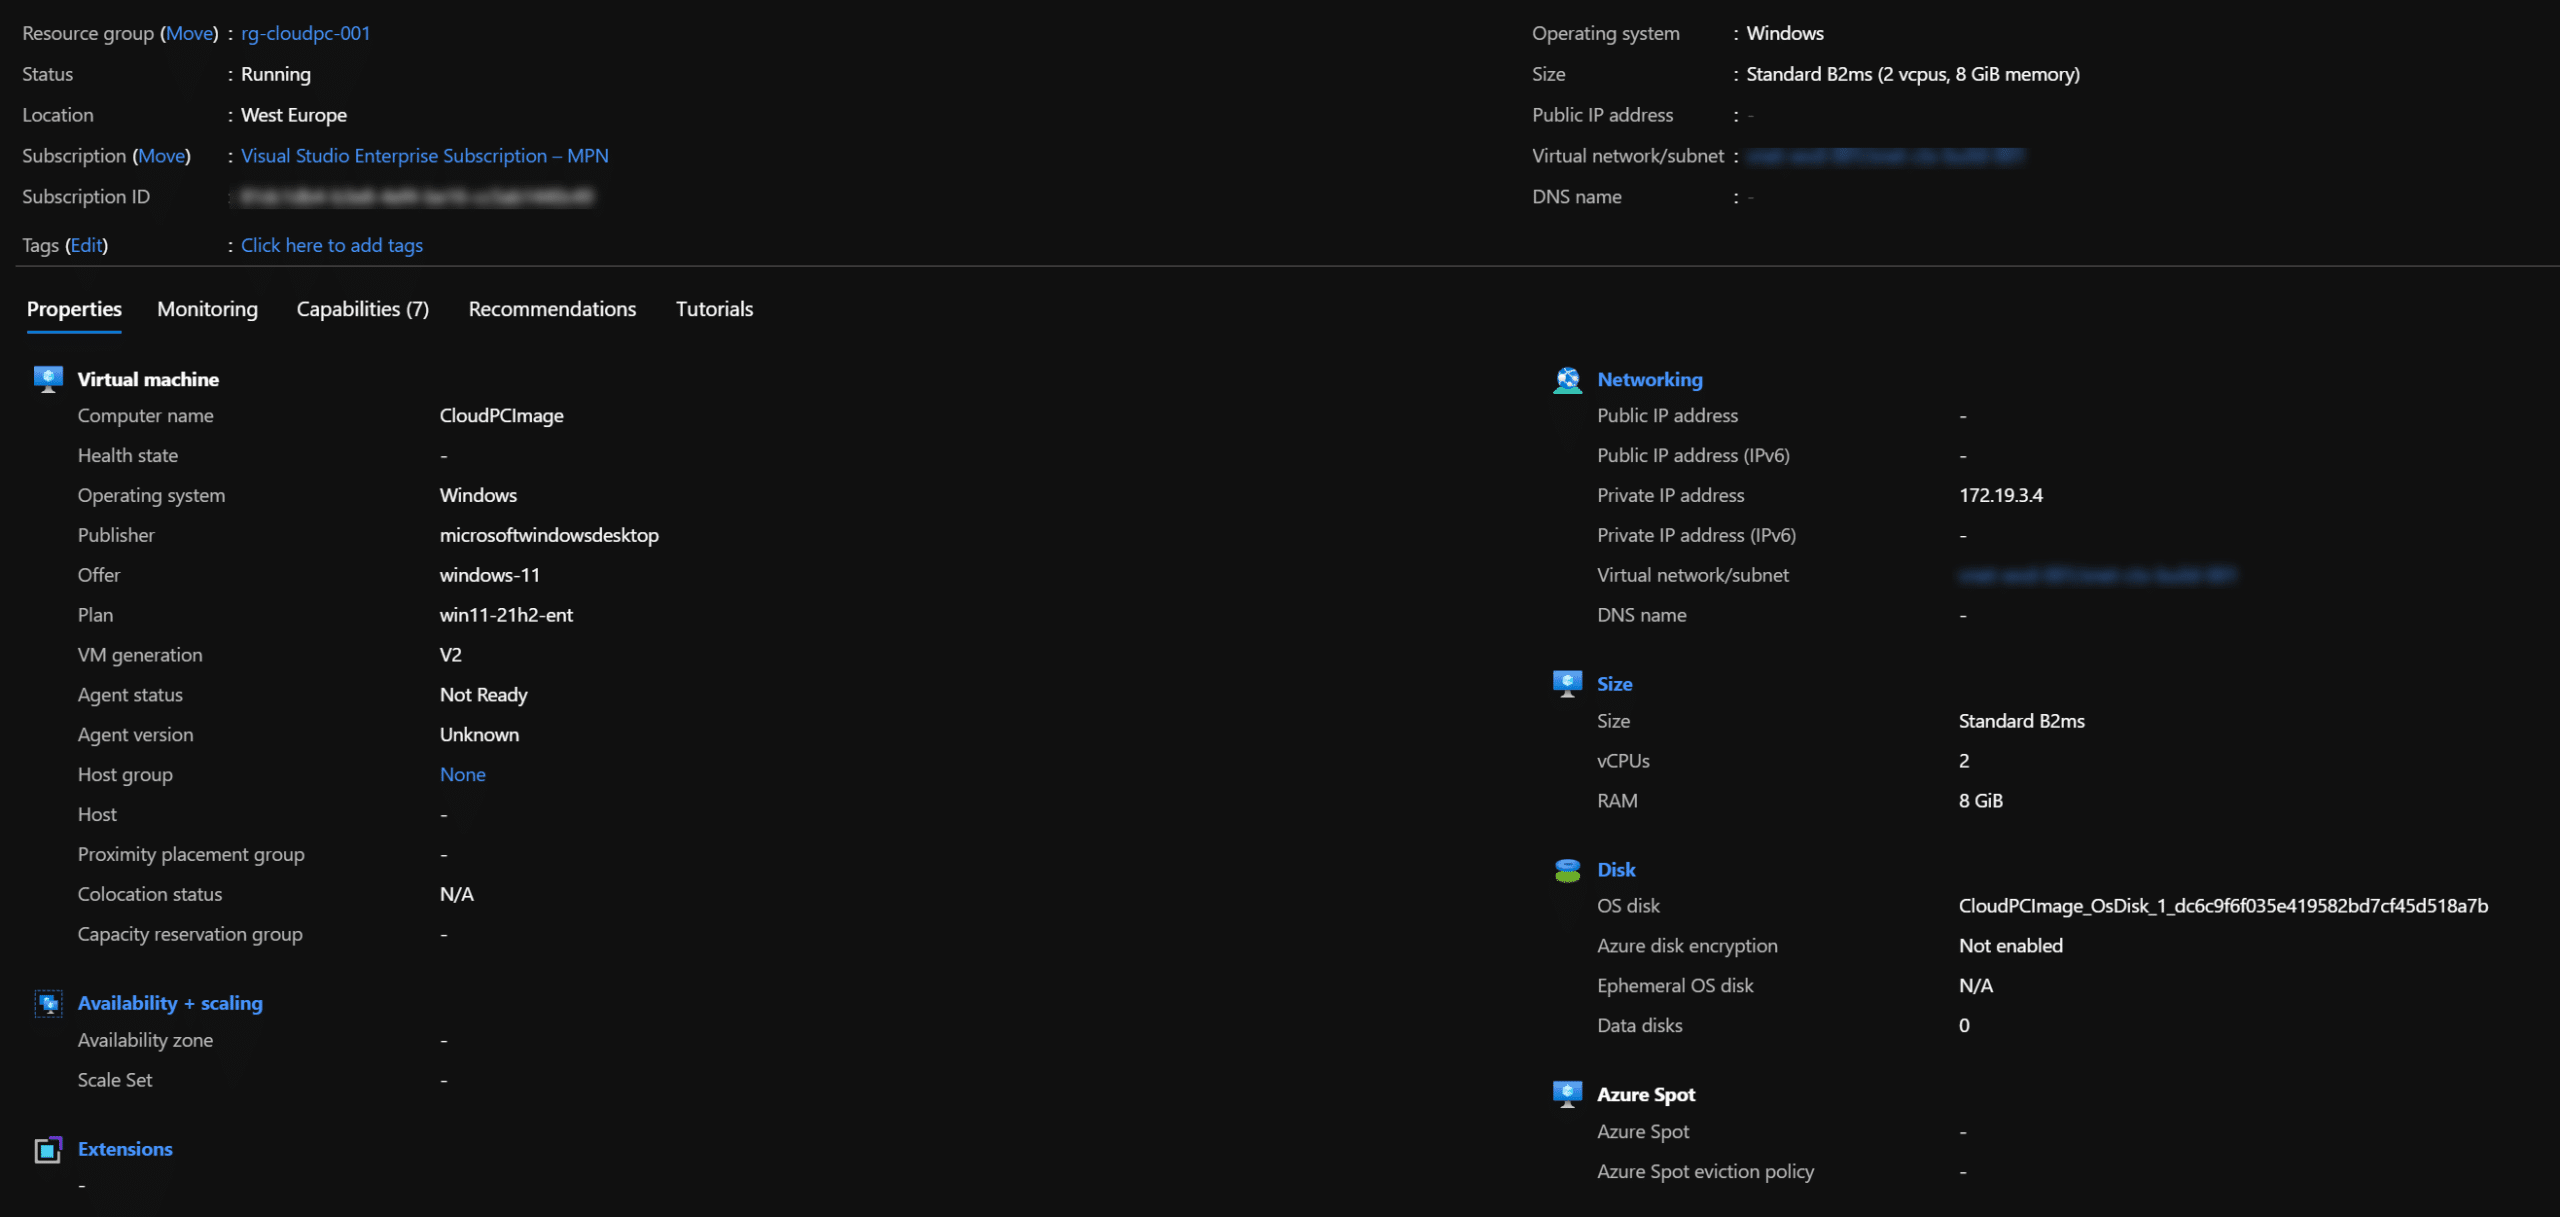
I have placed my new VM in an existing resource group and virtual network, but you can put it where it best fits your environment.
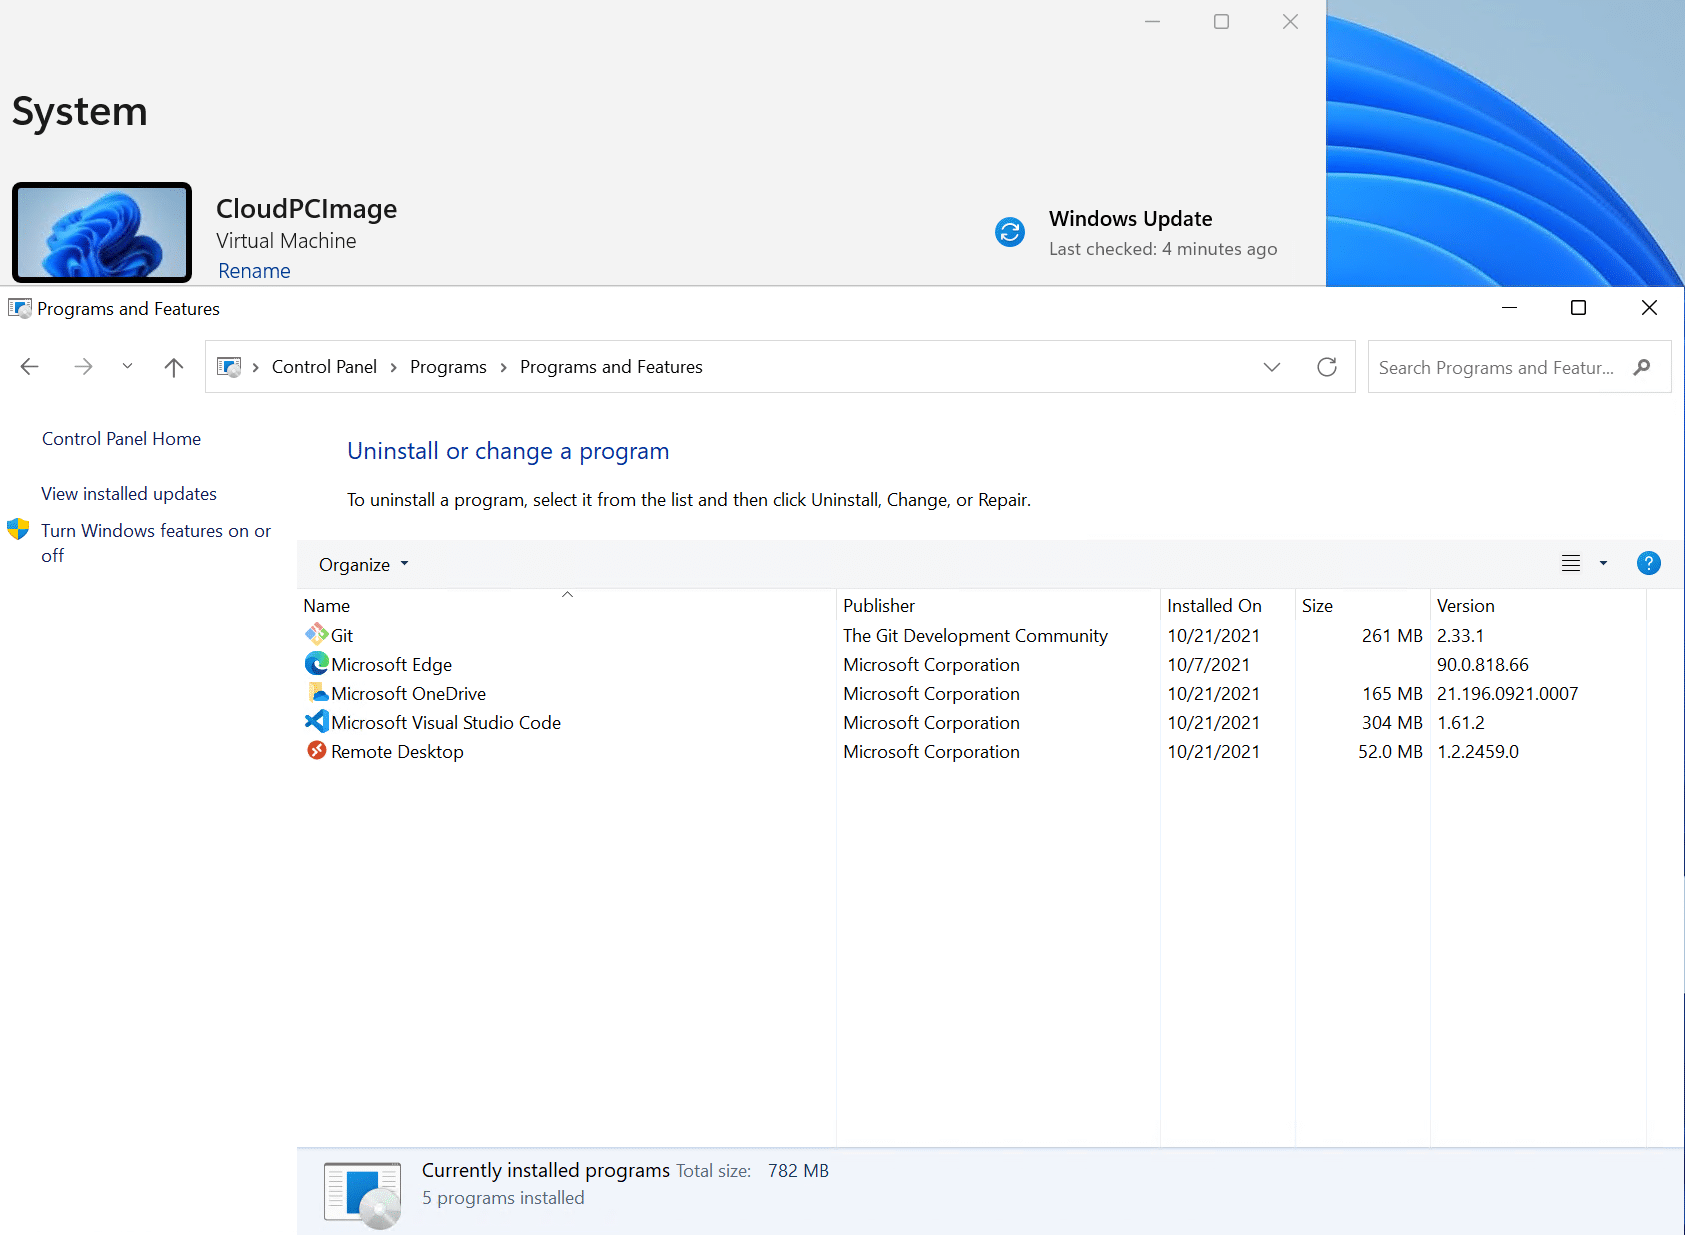
Next, I log in to the new machine and install all the software I need. The software can be the line of business software or helpful tools and updates. In my case, you can see that I have installed Visual Studio Code, Git for Windows, 7Zip, and a remote desktop client for AVD/W365.
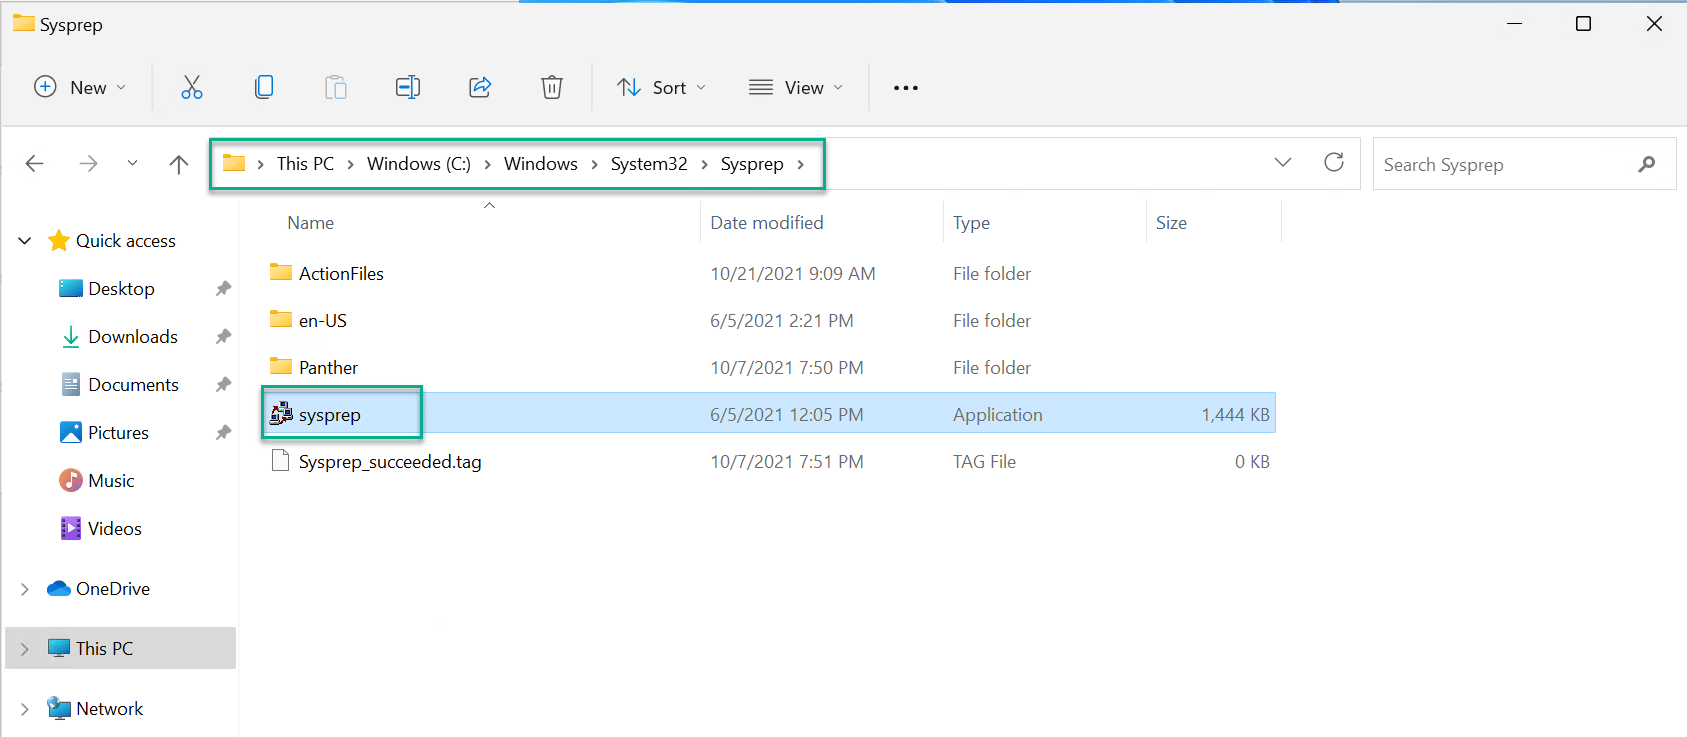
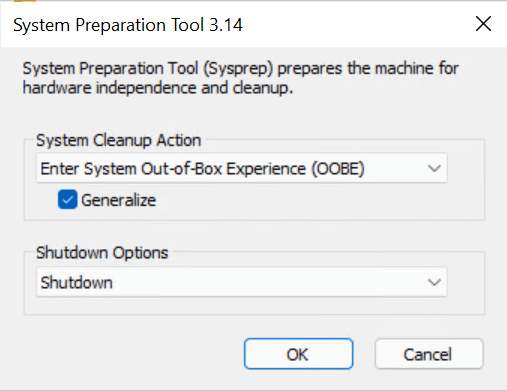
I always do a reboot after installing software and updates, so I recommend this even though Windows might not ask for it. After the restart, I will do a Sysprep of the machine to use it inside W365. To Sysprep, I go to the “C:\Windows\System32\Sysprep” folder and run the “Sysprep.exe” as administrator.
I select “Enter System Out-of-Box Experience (OOBE),” “Generalize,” and “Shutdown.”
The Sysprep shutdown will execute and leave my VM in a stopped state.

To capture my image, I need the machine to deallocate. I do this by clicking on “Stop” and then “Yes.”

Now, my machine is deallocated, and I can click on “Capture” to start my capture process to a W365 image.

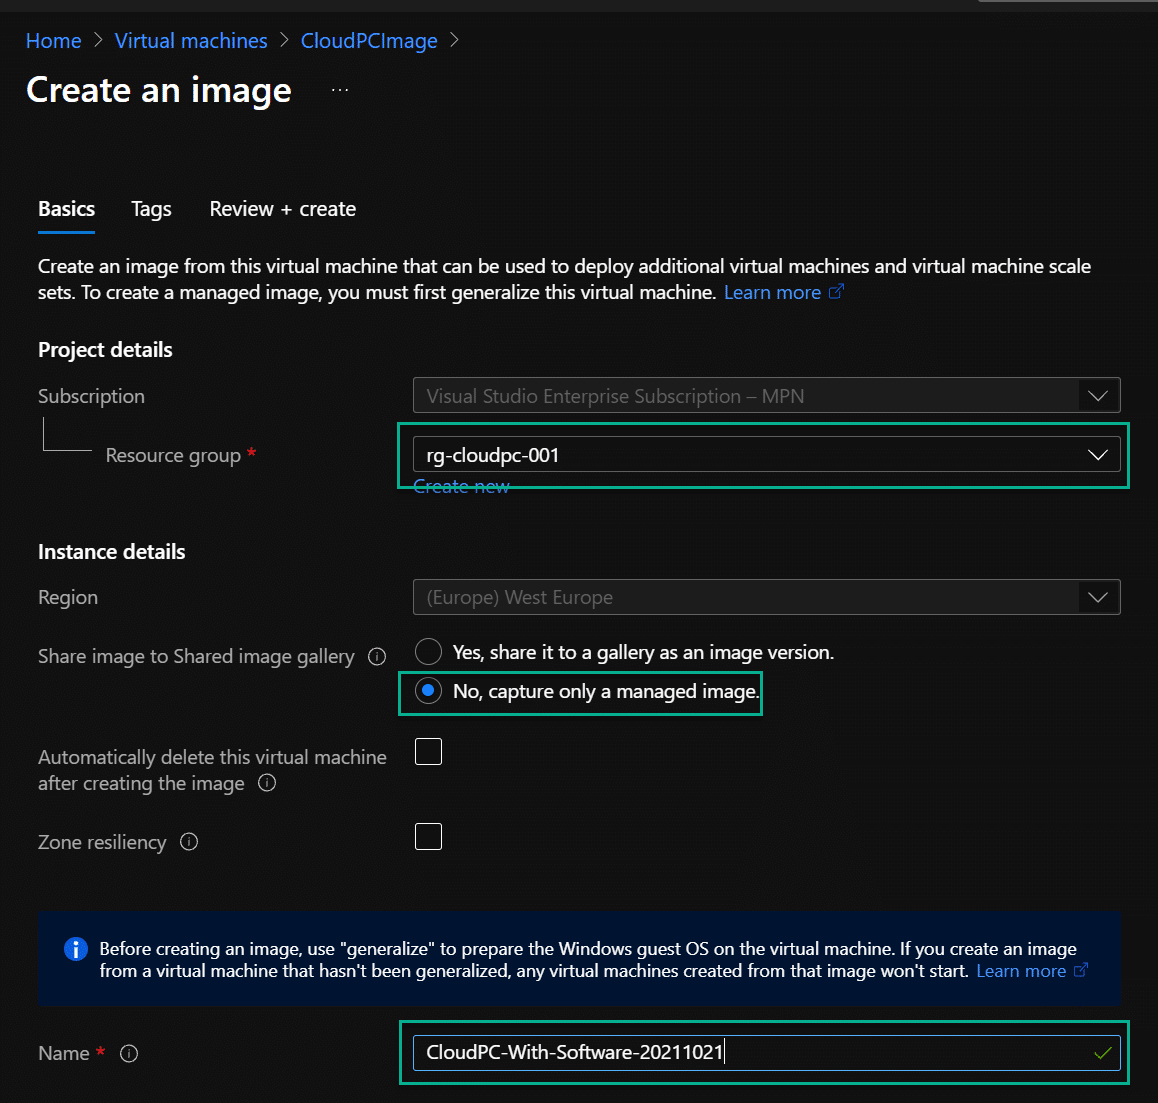
I will choose my resource group and select “No, capture only a managed image” since W365 does not support a shared image gallery. I also provide a name, and I usually have a date as part of that name to make it easier to determine the latest version. I click on “Review + create” to create my managed image.
The capture is a fast operation, and when completed, I can see my managed image in my resource group.

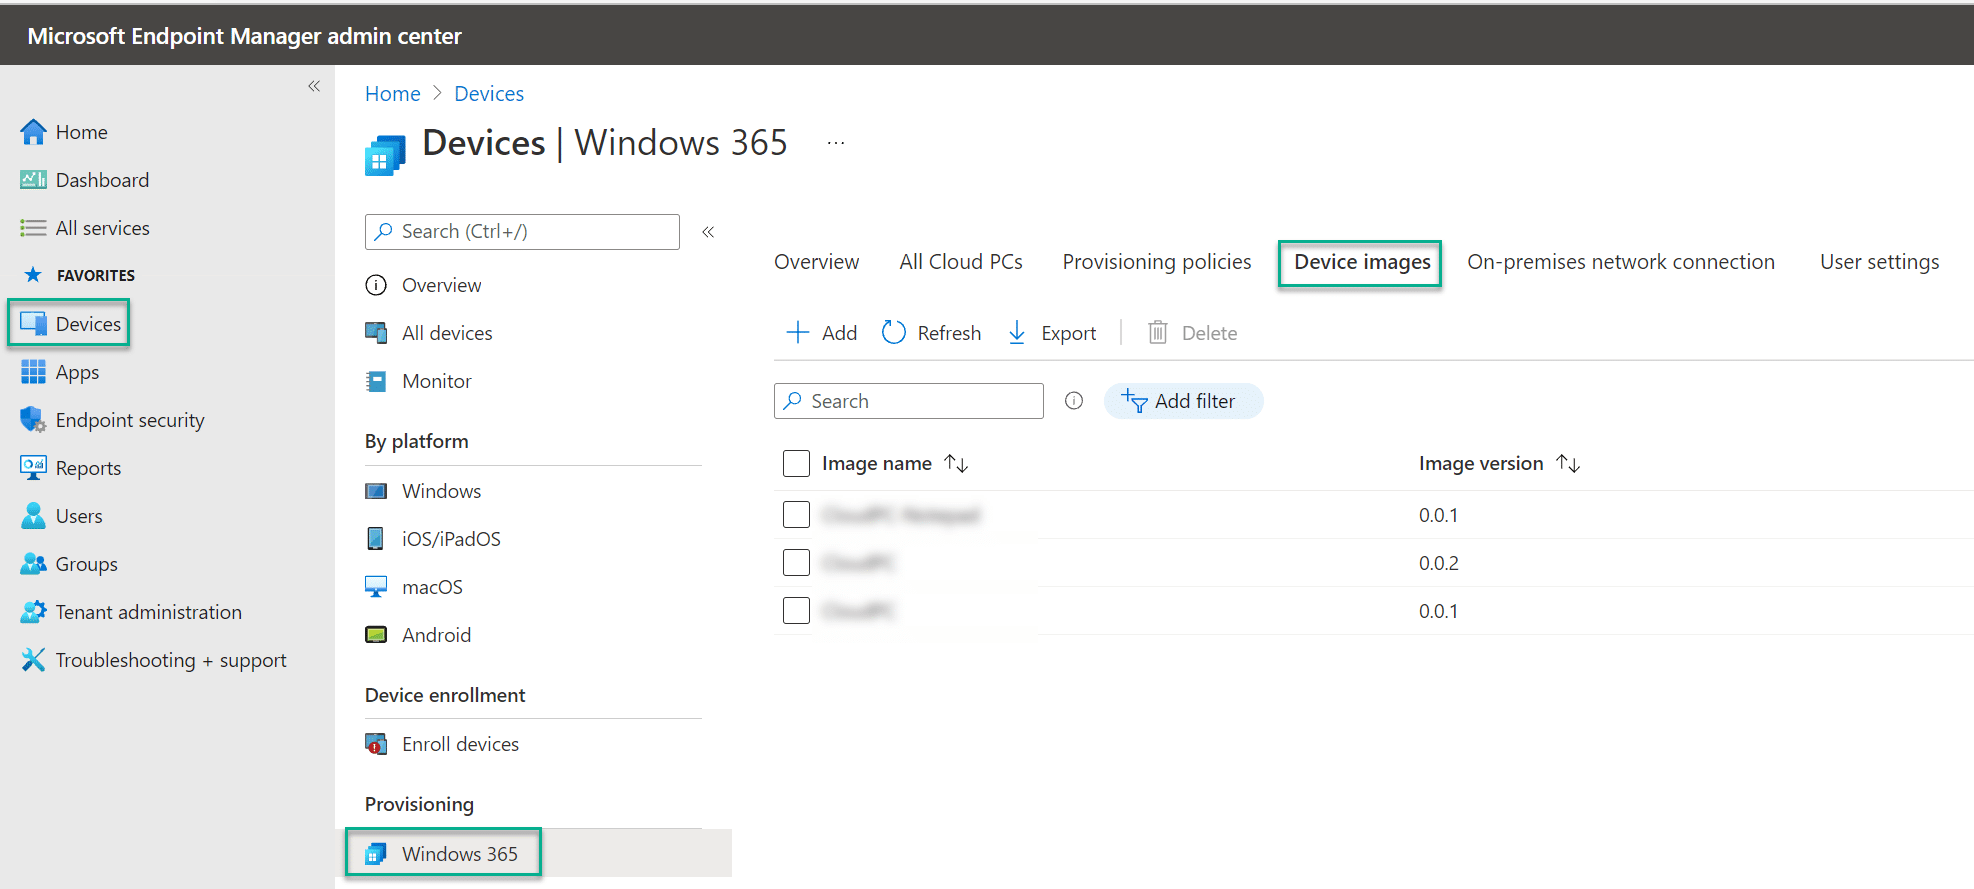
To port my image to W365, I only need to open the endpoint manager portal at https://endpoint.microsoft.com , click on “Devices,” and then click on “Windows 365”. I then have my W365 management, and I want to add a new image, so I click on “Device images.”
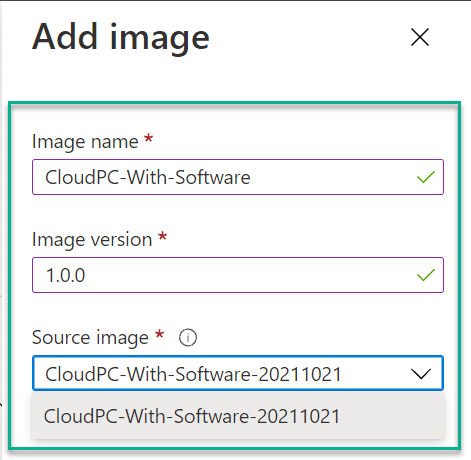
I click on “Add” to start the process. I provide a name, in this case, “CloudPC-With-Software,” and give it a version “1.0.0,” In the dropdown box, I can select the new image I just created in Azure. I then click on “Add.”
Adding the image will start an uploading process where Microsoft will copy the Azure image into the endpoint manager. The upload will take some time, in my case, around 3 hours to complete.
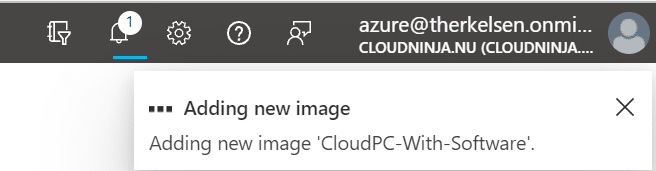
When the upload is complete, I can see the new images in the list.

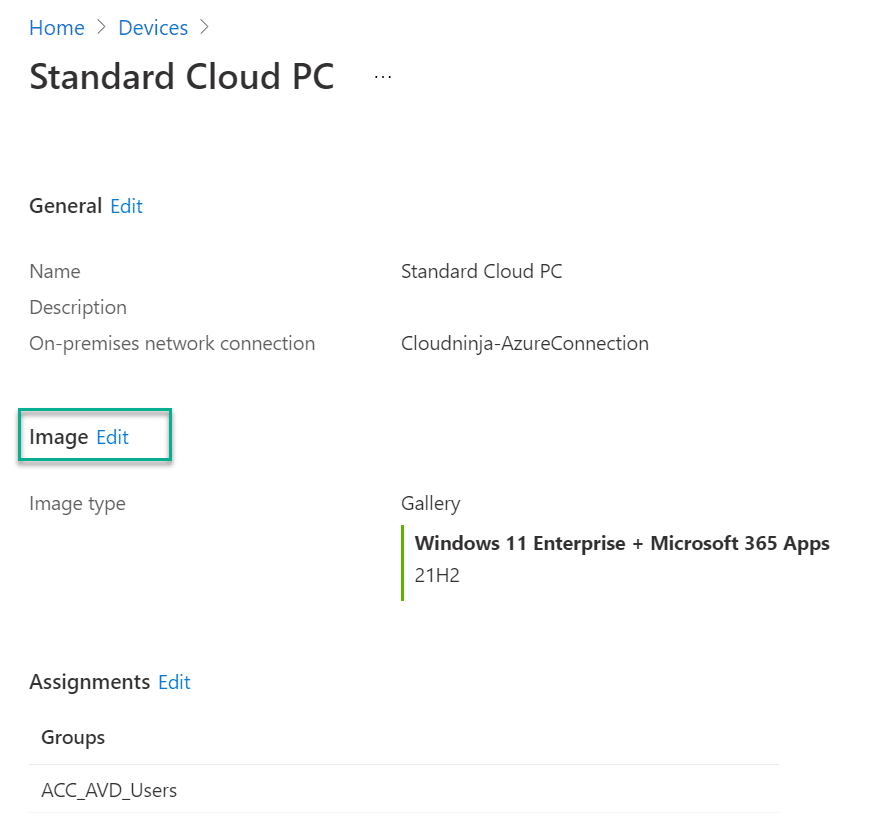
I can now update my provisioning policy using the Microsoft provided image to using my new custom image. So I click on “Provisioning policies” and then on “Standard Cloud PC” to edit the policy.

I click on “Edit.”
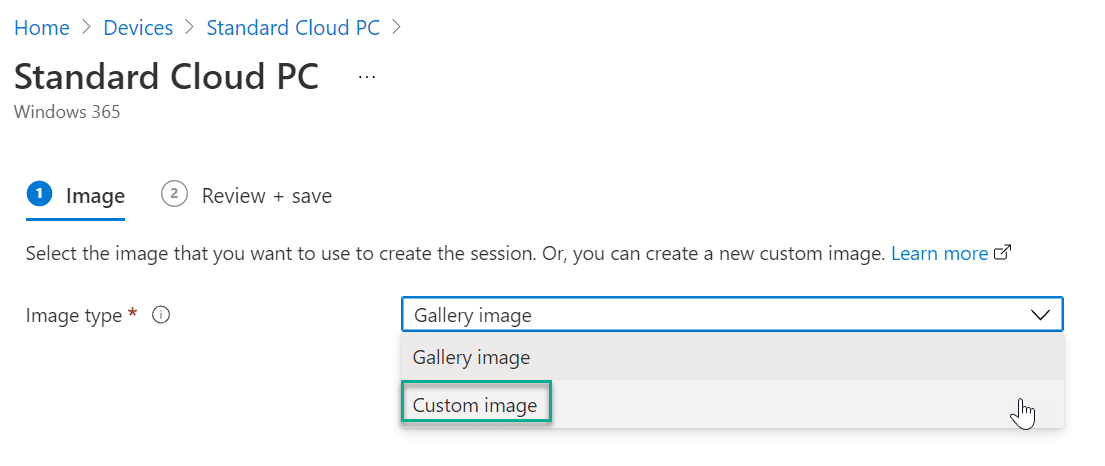
I select “Custom image” instead of “Gallery image.”
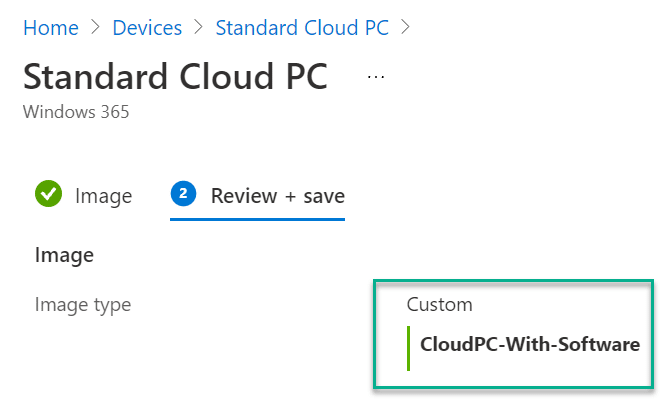
I can now click on “Select” and then select my image from the list.

I review the changes and update the policy.
Now, I have updated my policy, but it won’t affect any running machines without actively forcing a new image to be applied. This is by design so that no device will be reprovisioned without the admin manually pushing it. Reprovision can result in data loss if data is stored on the Cloud PC and not in OneDrive, GitHub, or any other secure location.

In my case, I do want to reprovision my Cloud PC, so I click on “CPC-martin-N-7S,” and then I click on “Reprovision.”
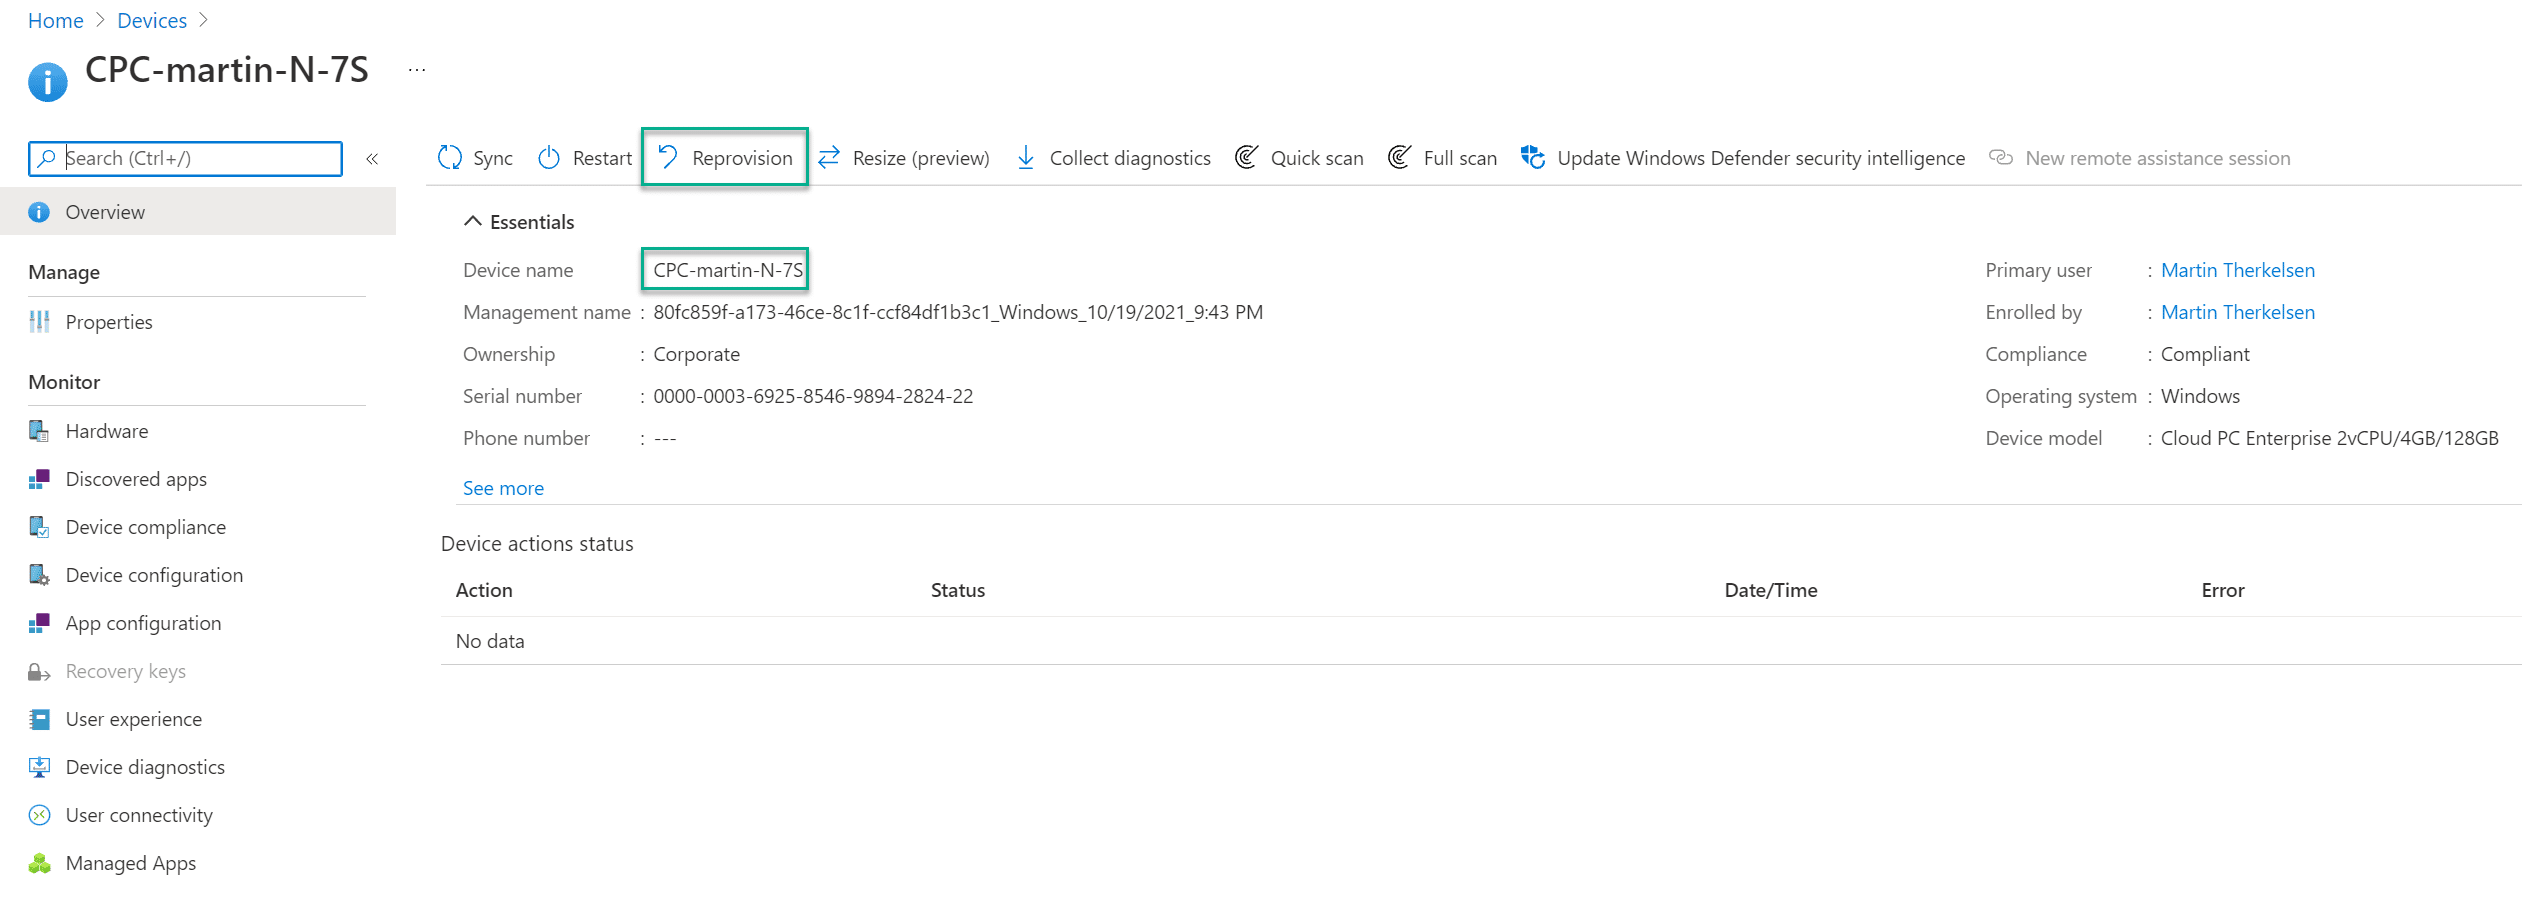
If I go back to the device overview, I can see that my device is in a “Provisioning” state.

The reprovisioning will take about an hour to complete, and then it will be running my new custom image instead of the gallery version of Windows 11. The reprovisioning will destroy the device I had and get a completely new one using our new custom image. As you can see below, I have my new machine up and running, and the image is now “CloudPC-With-Software” instead of the gallery version.

I hope this small guide is helpful and as always, reach out if you have any questions or feedback.
Comments